House Numbers DIY
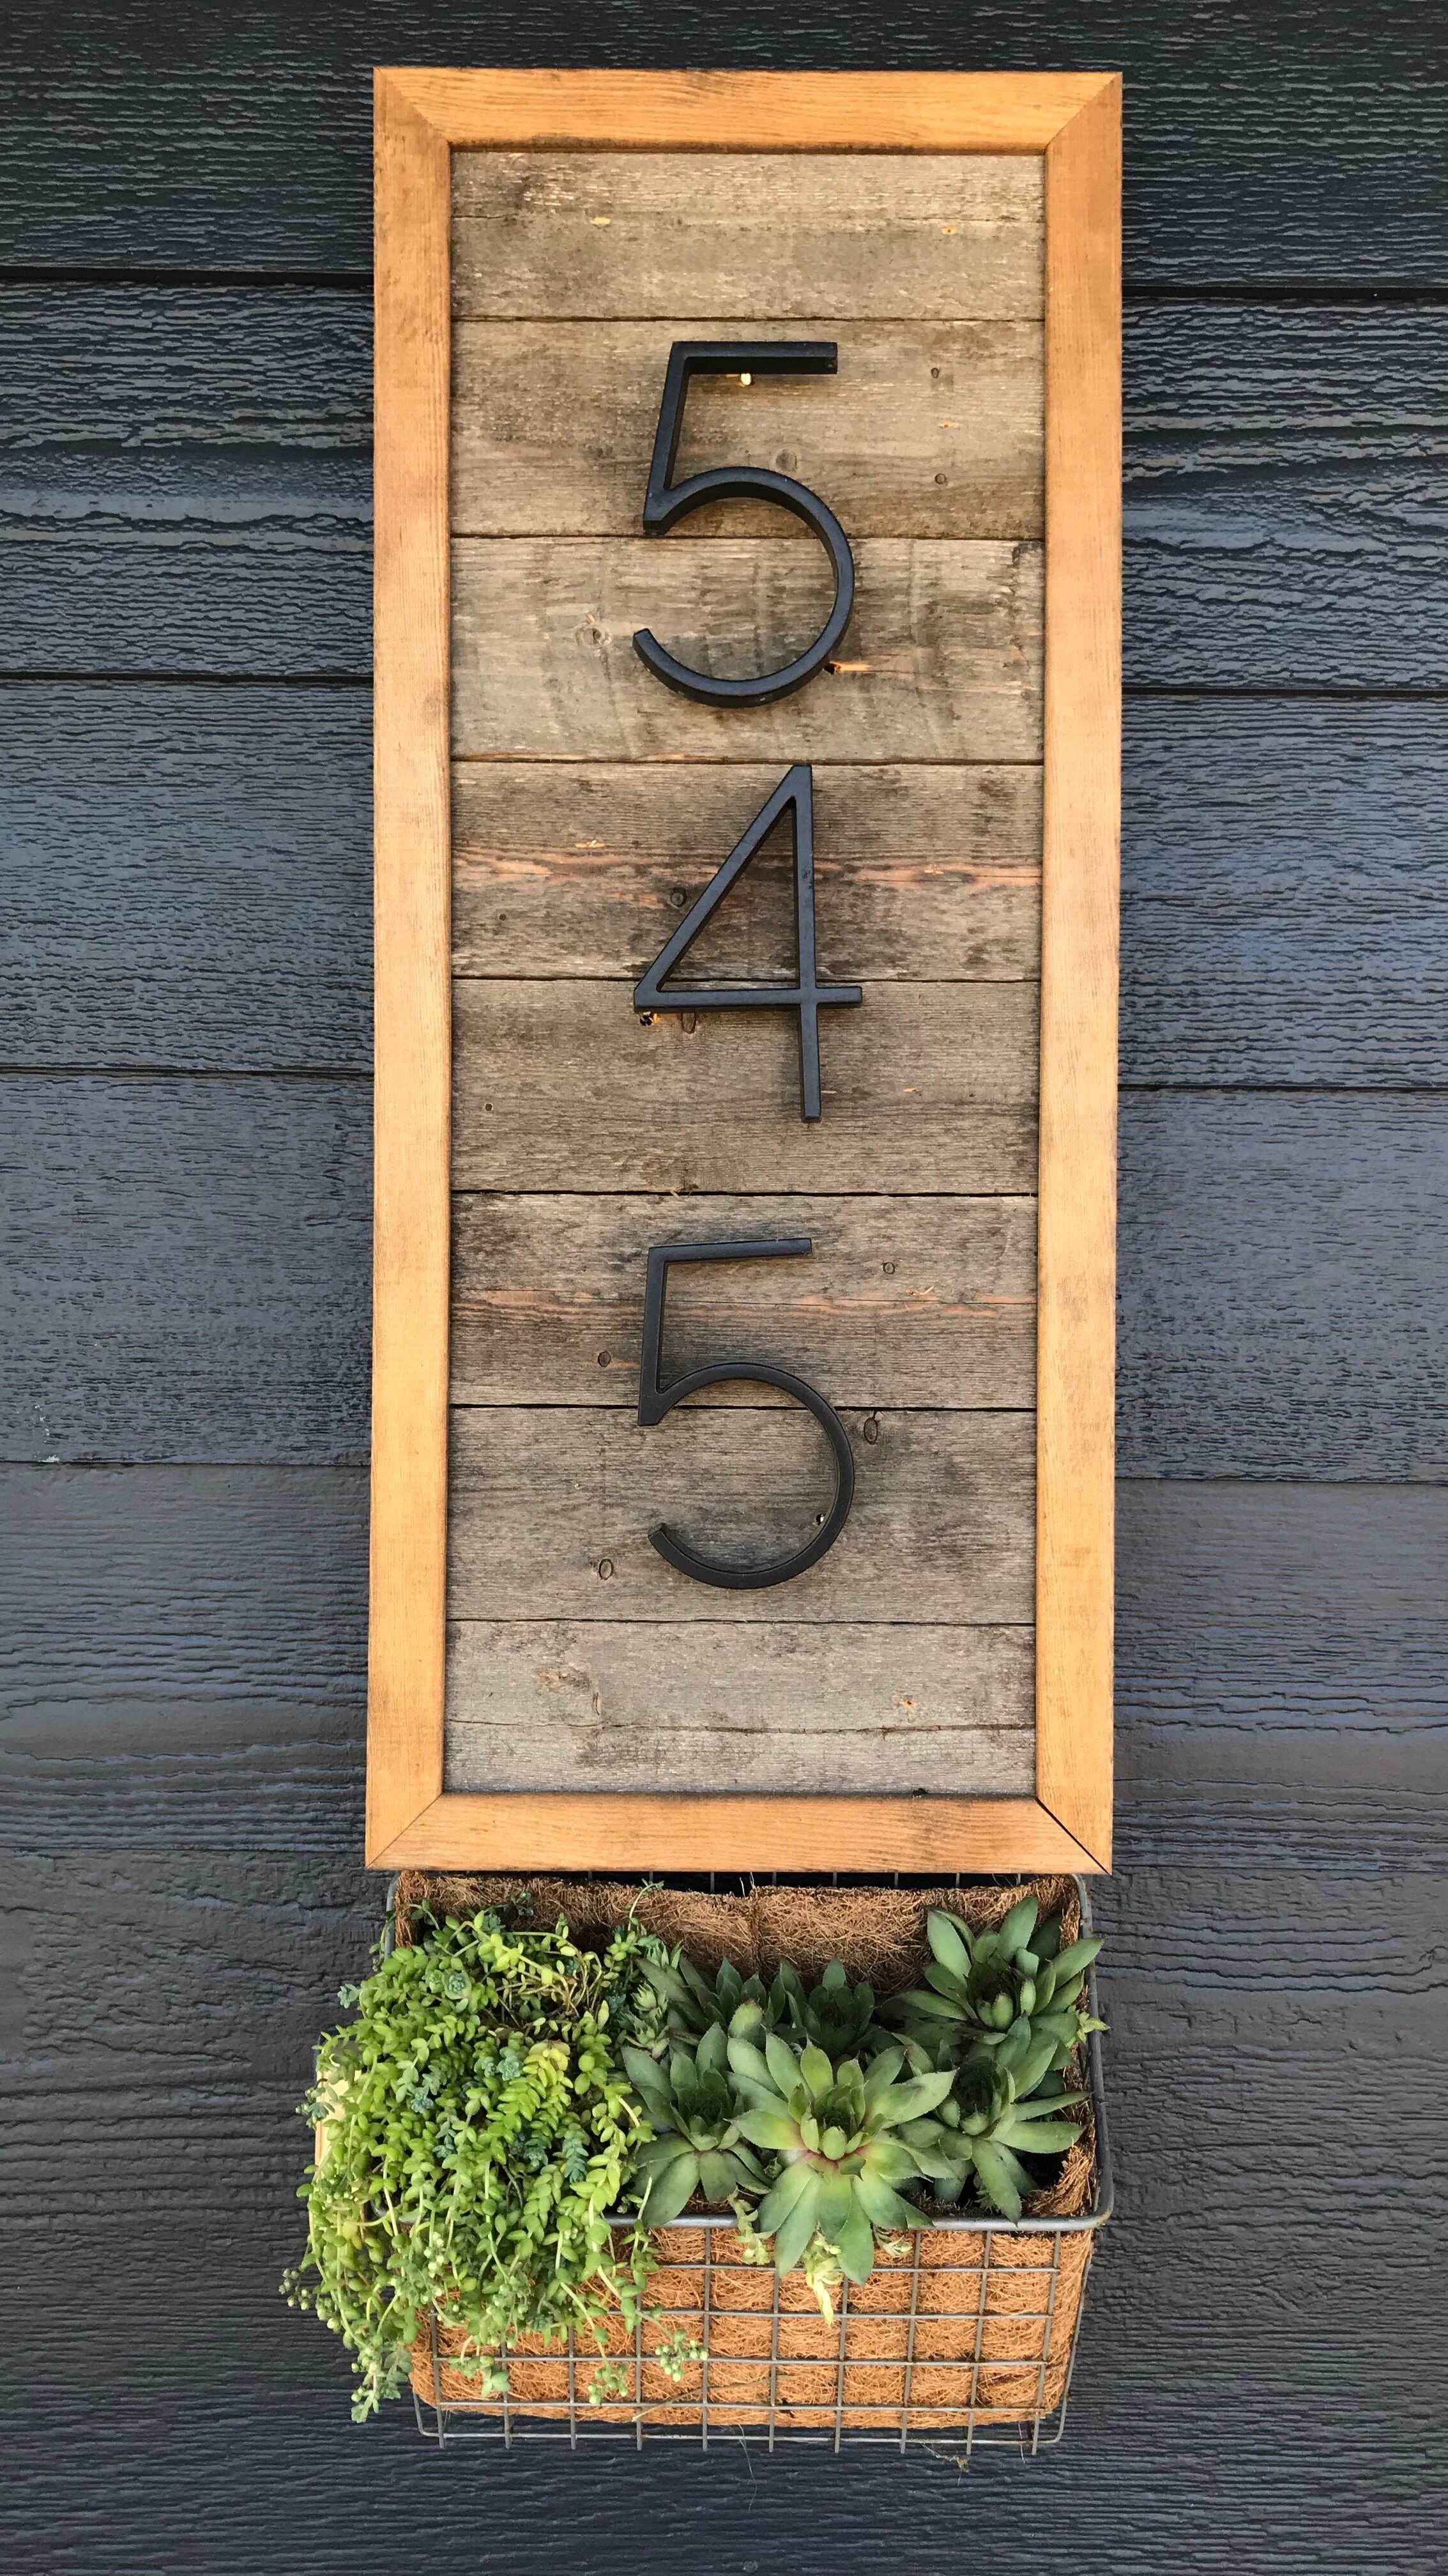
Ah, house numbers. Everyone has them, but nobody talks about them and their unattractive qualities. Kind of like stray chin hairs or that weird mole you just discovered (you should maybe get that checked out by the way). When we bought our house, the house numbers came with. Functional, but not necessarily eye candy. I decided to take matters into my own hands and dress up our house numbers a bit. Little bit of scrap wood here, some sawing there, and voila! Functional AND cute! I even braved REAL LIVE plants for this project. I'm so proud of me.
Here's what you need:
Supplies:
Wood
Outside corner molding
House numbers
Wire Basket Liner
Screws and nails
Wood glue
Stain
Tools:
Drill + bits
Chop saw
Nail gun or hammer
Small level or square
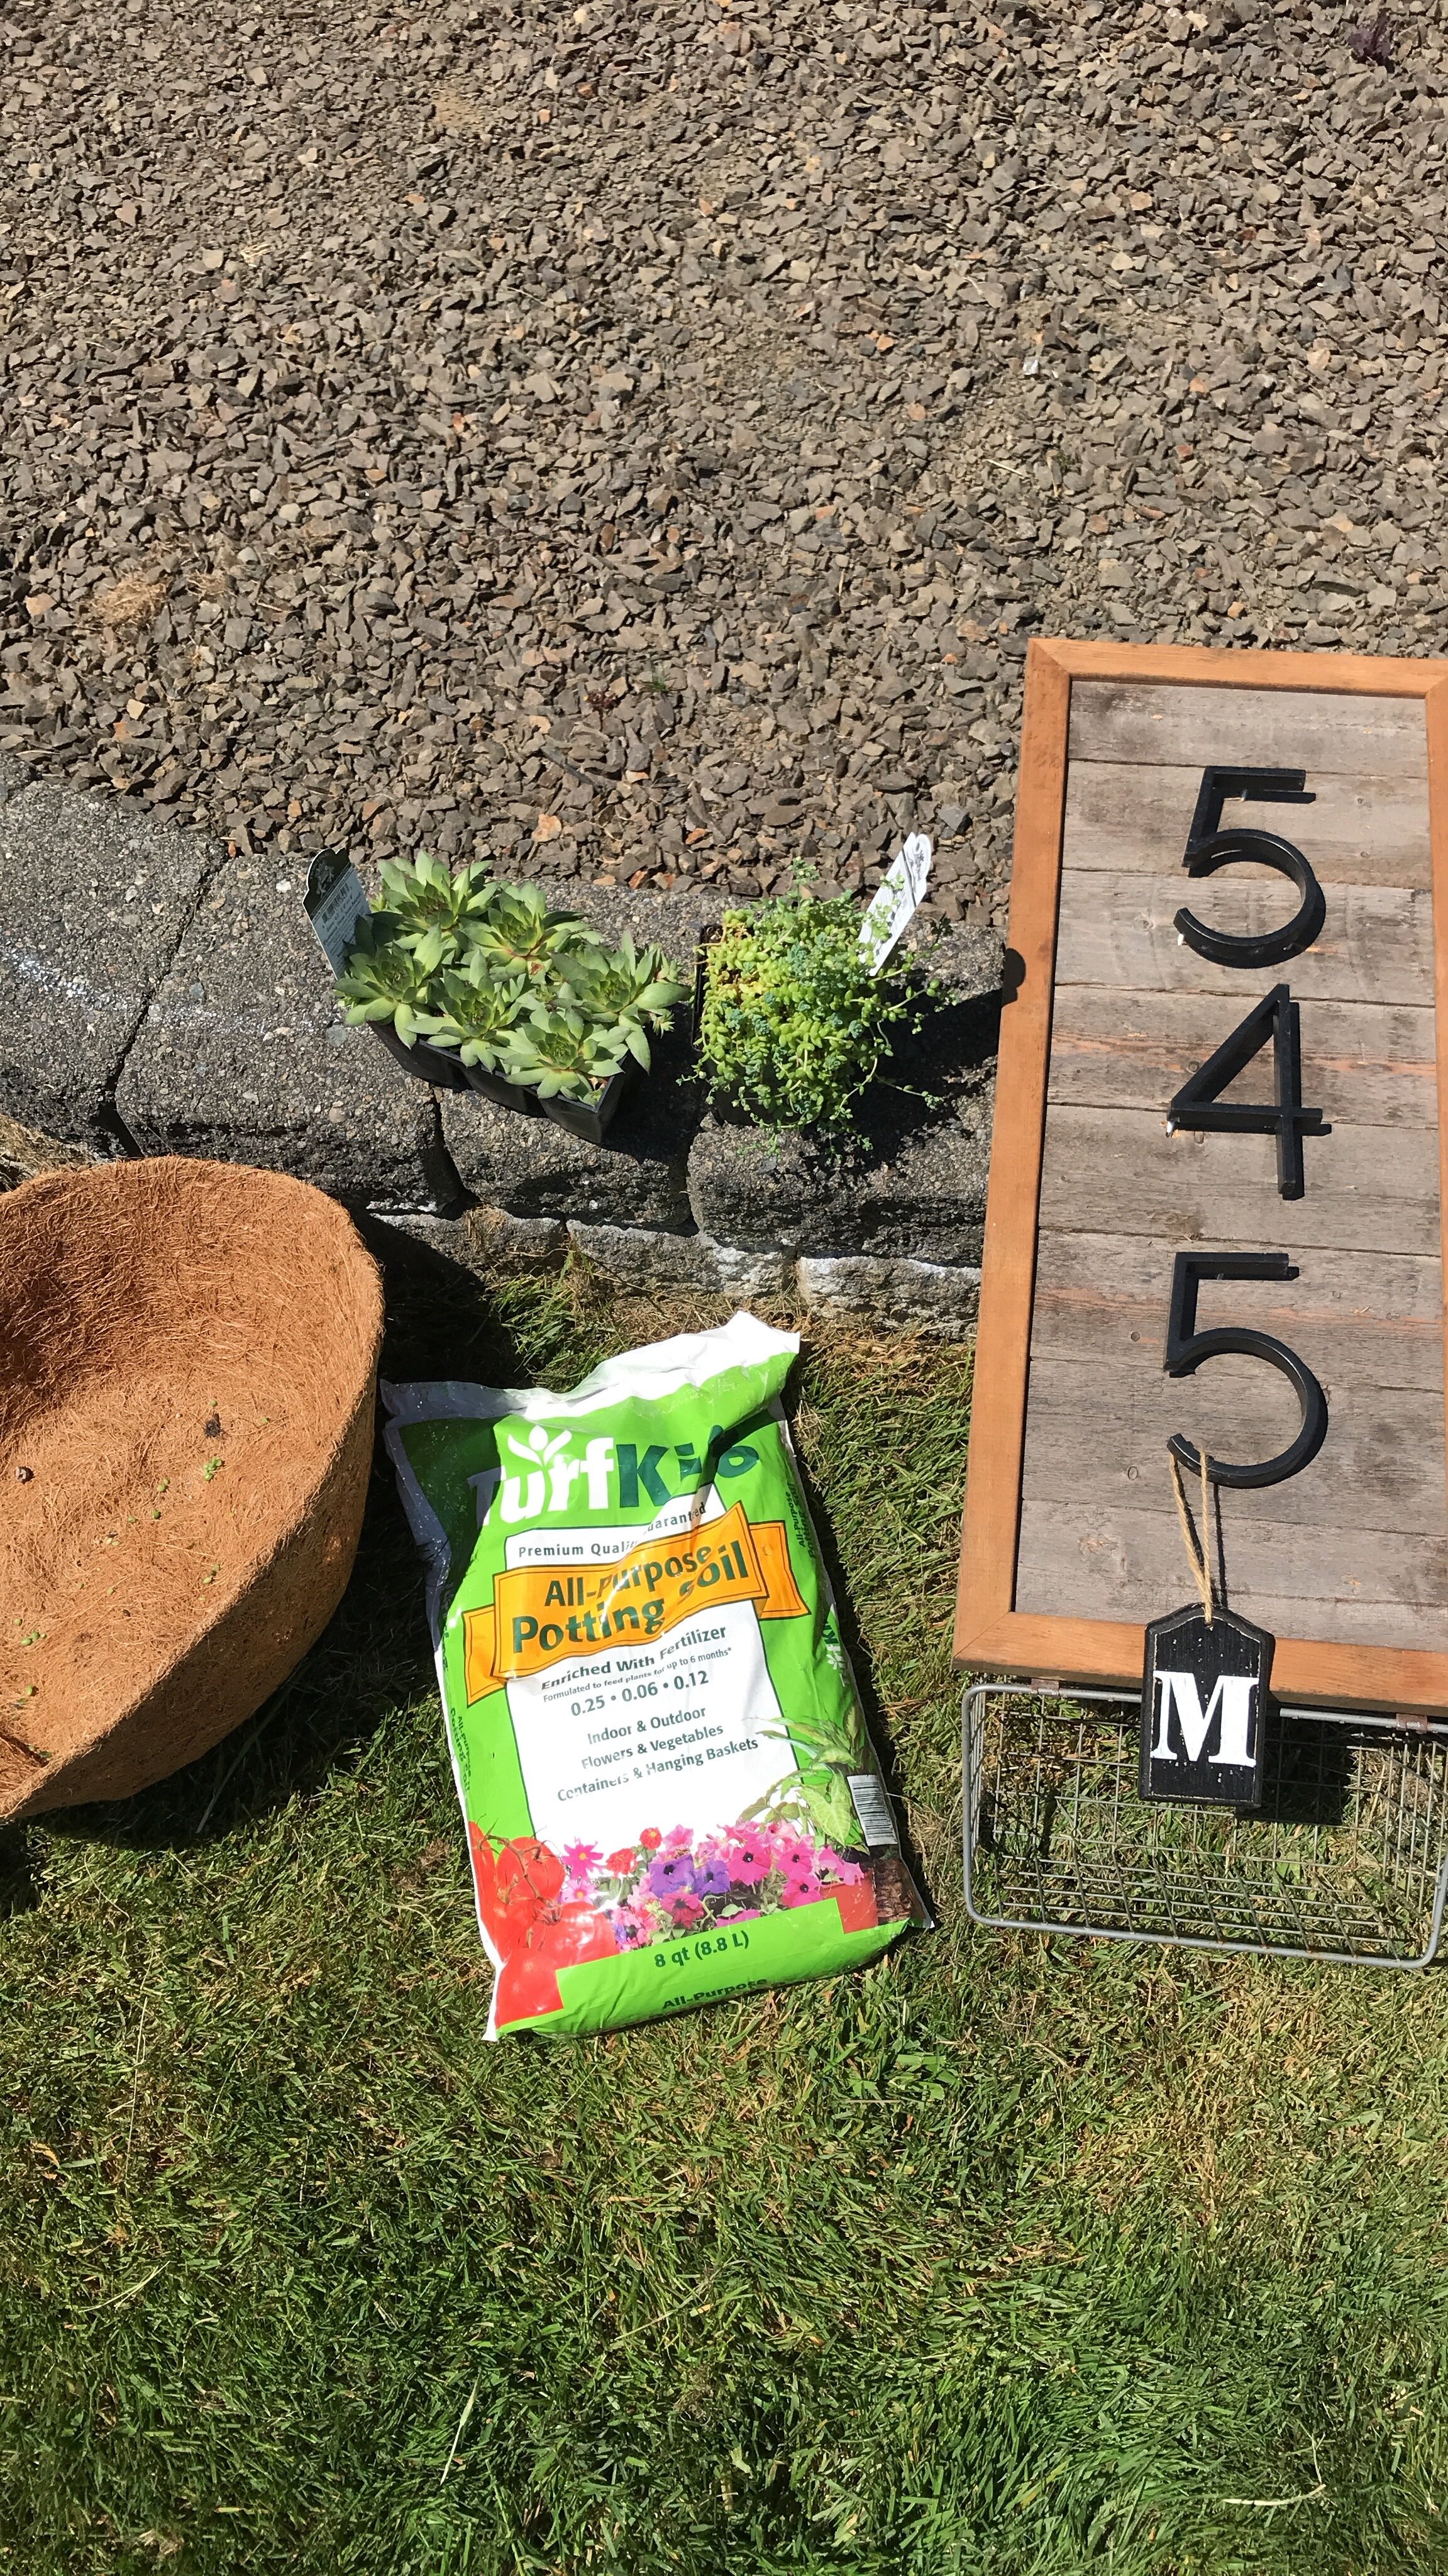
Supplies details:
Wood: For 3 house numbers, you'll need 10 feet of 3" x 3/4" wood. Pallet wood happens to be the perfect size for this project!
Outside corner moulding: This is the stuff you sometimes will see on wall corners in houses. 1" x 1" and what I linked is 96" long, which is more than you'll need, BUT cutting the angles correctly on this trim can be a pain in the asteroid, so best to have too much than too little. Get this material unfinished so you can stain it.
House numbers: the size of your wood base is going to depend on how many numbers in your address. Lucky is the person who is a single digit house. You also want to make sure that you get the right size (mine are 3.5" tall).
Wire: this is for your backside. I mean, the back side of your house number's plaque.
Basket: You want to get it about this size (10" wide) to make sure it fits with your plaque.
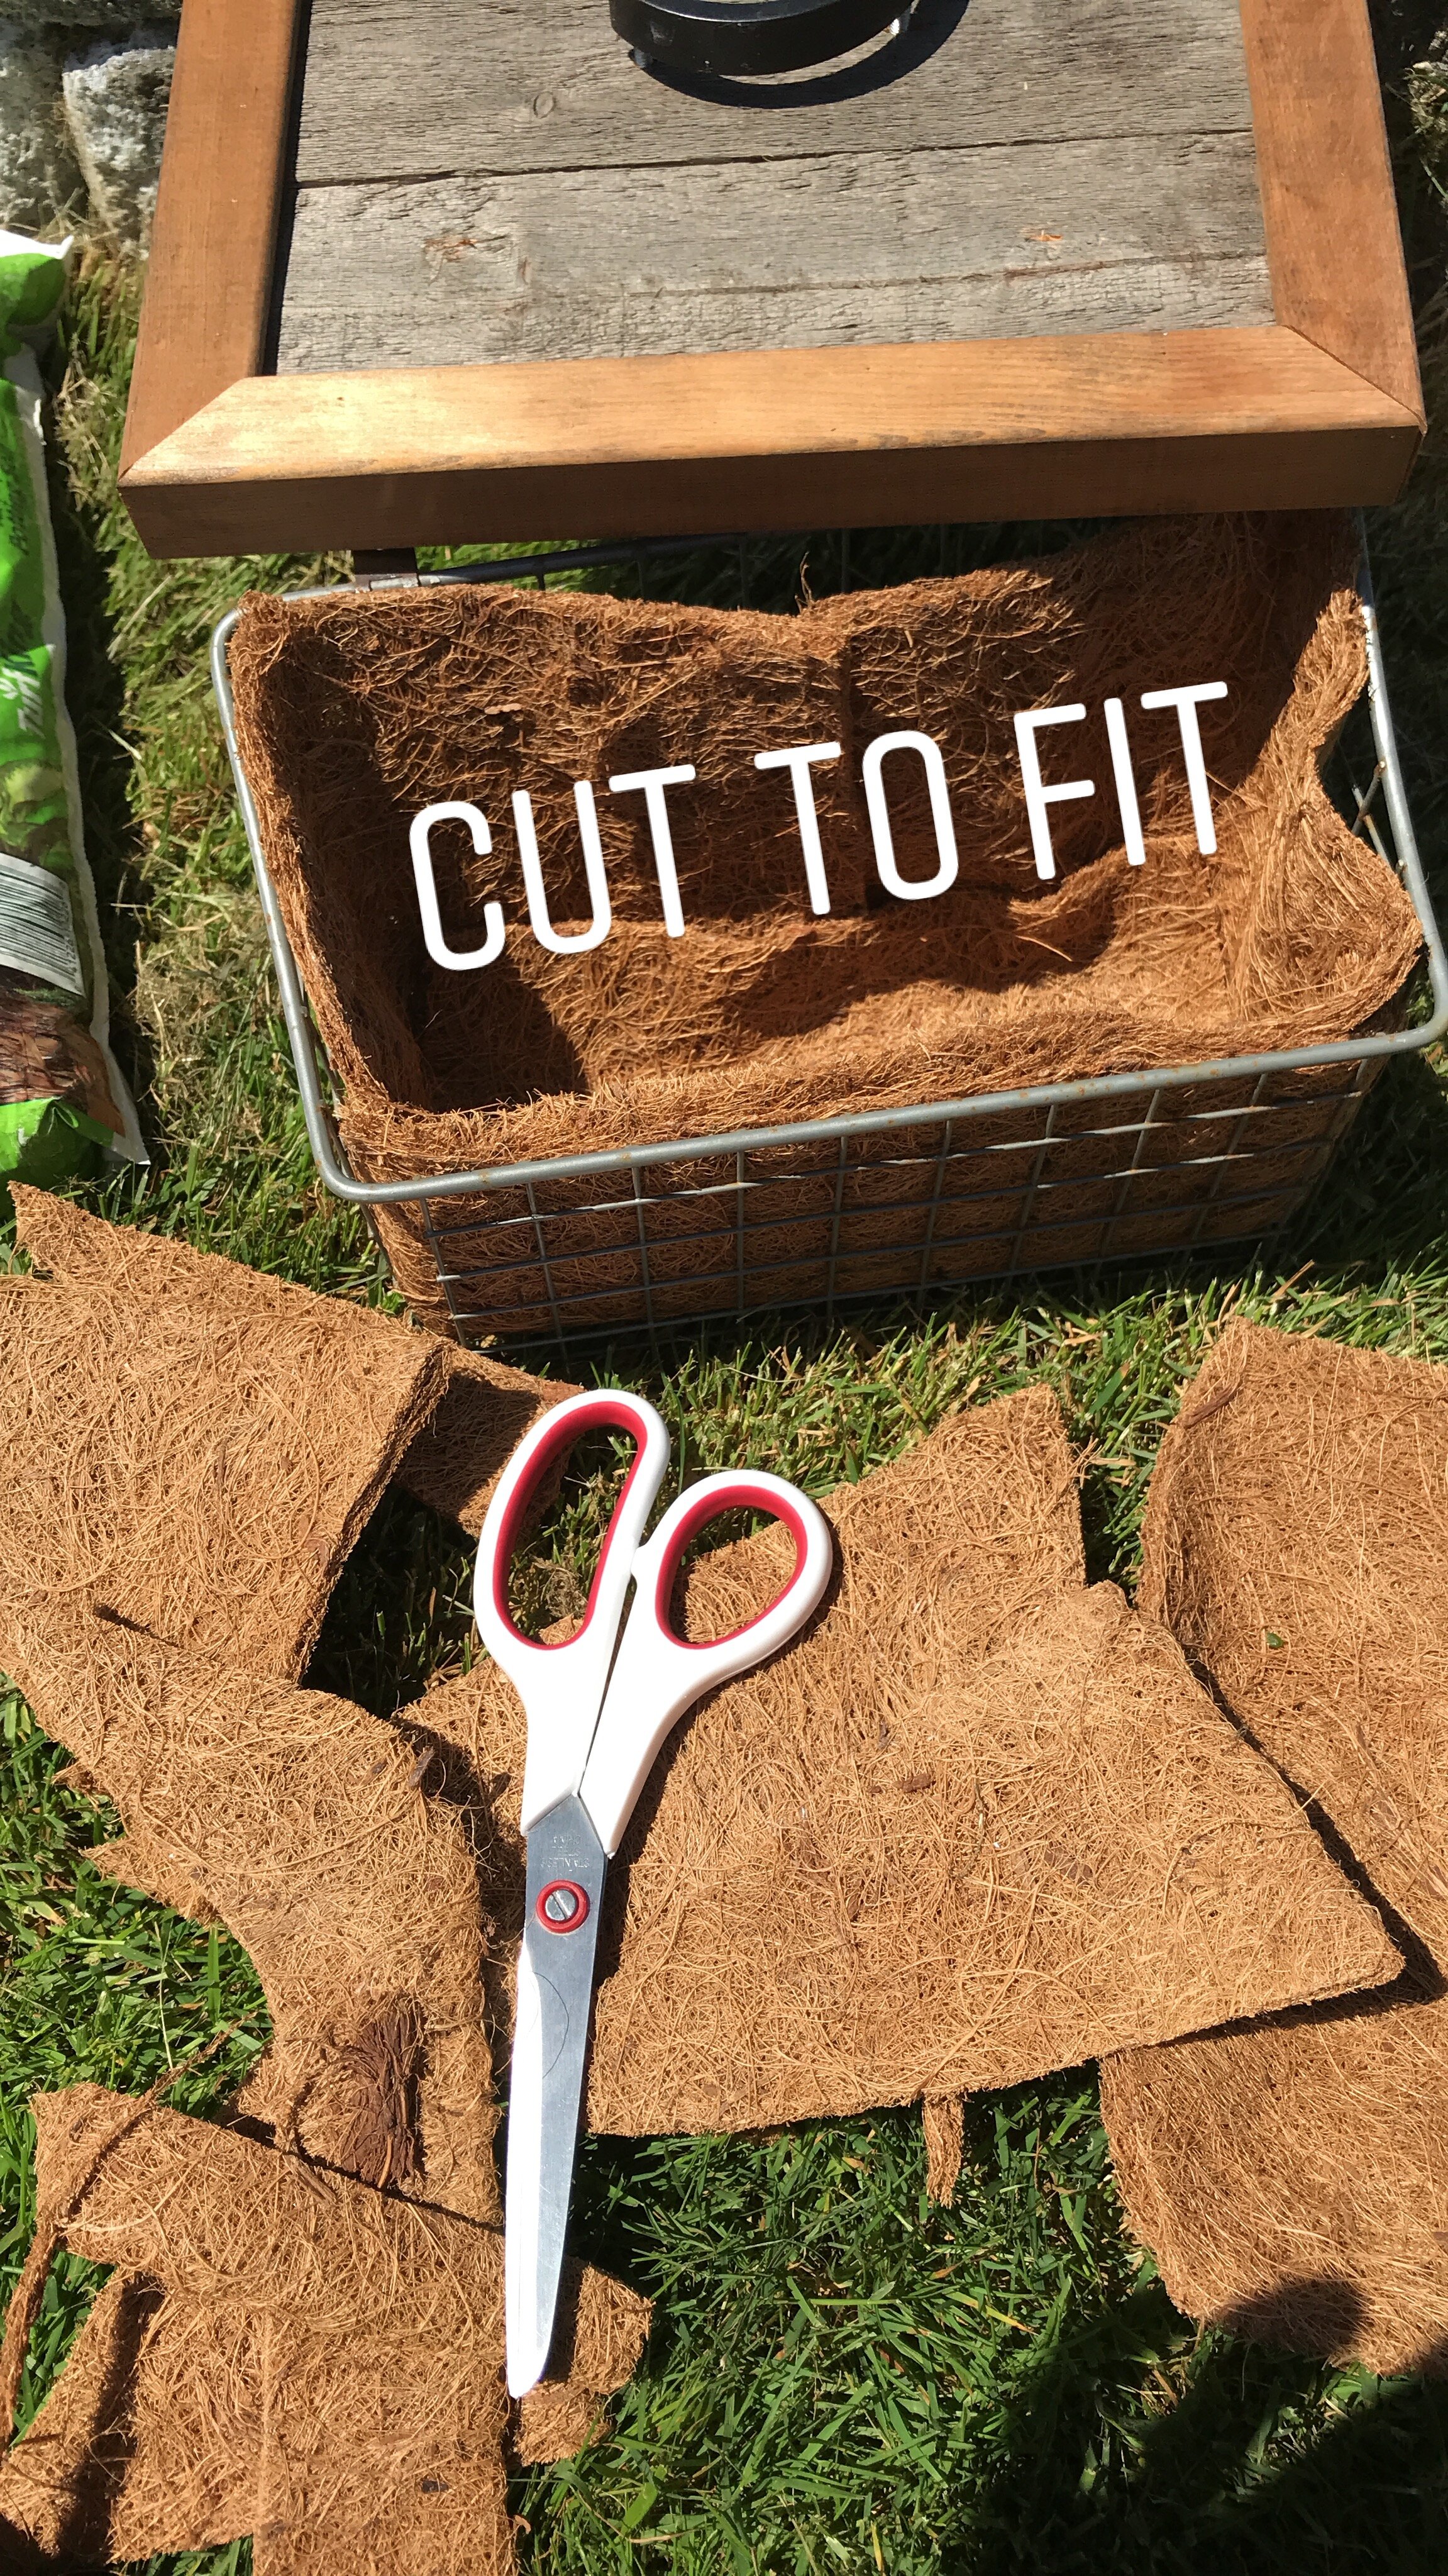
Coco fiber liner: cut to size to fit in your basket. Make sure it overlaps some so there's some water retention for your plants.
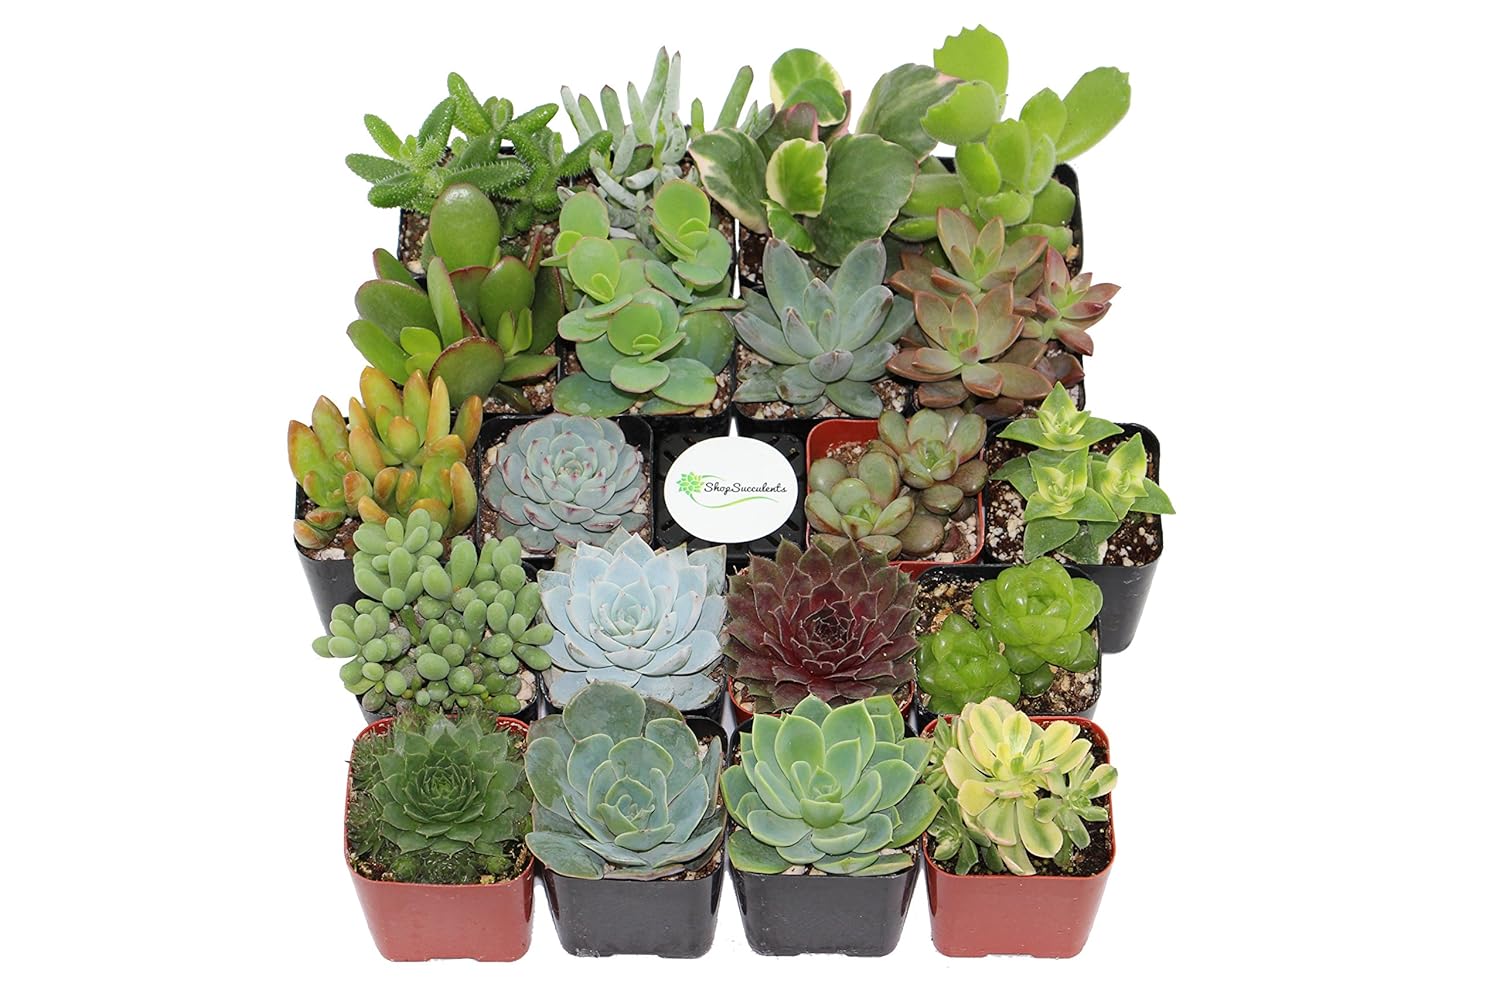
Plants: succulents for me 'cause...well, you know. My poor flowers don't fare very well. Here's a set of 20 that you can get right on Amazon if you don't have a place to purchase locally. Or you just don't want to get out of your jammies.
Stain: Minwax Dark Walnut.
Directions:
1. Stain your outside corner moulding. I like to apply with a rag because there's more control to get it as light or dark as you want.
2. Cut your 3 x 3/4" wood to 10" long. For a 3 number sign, you need 8 pieces.
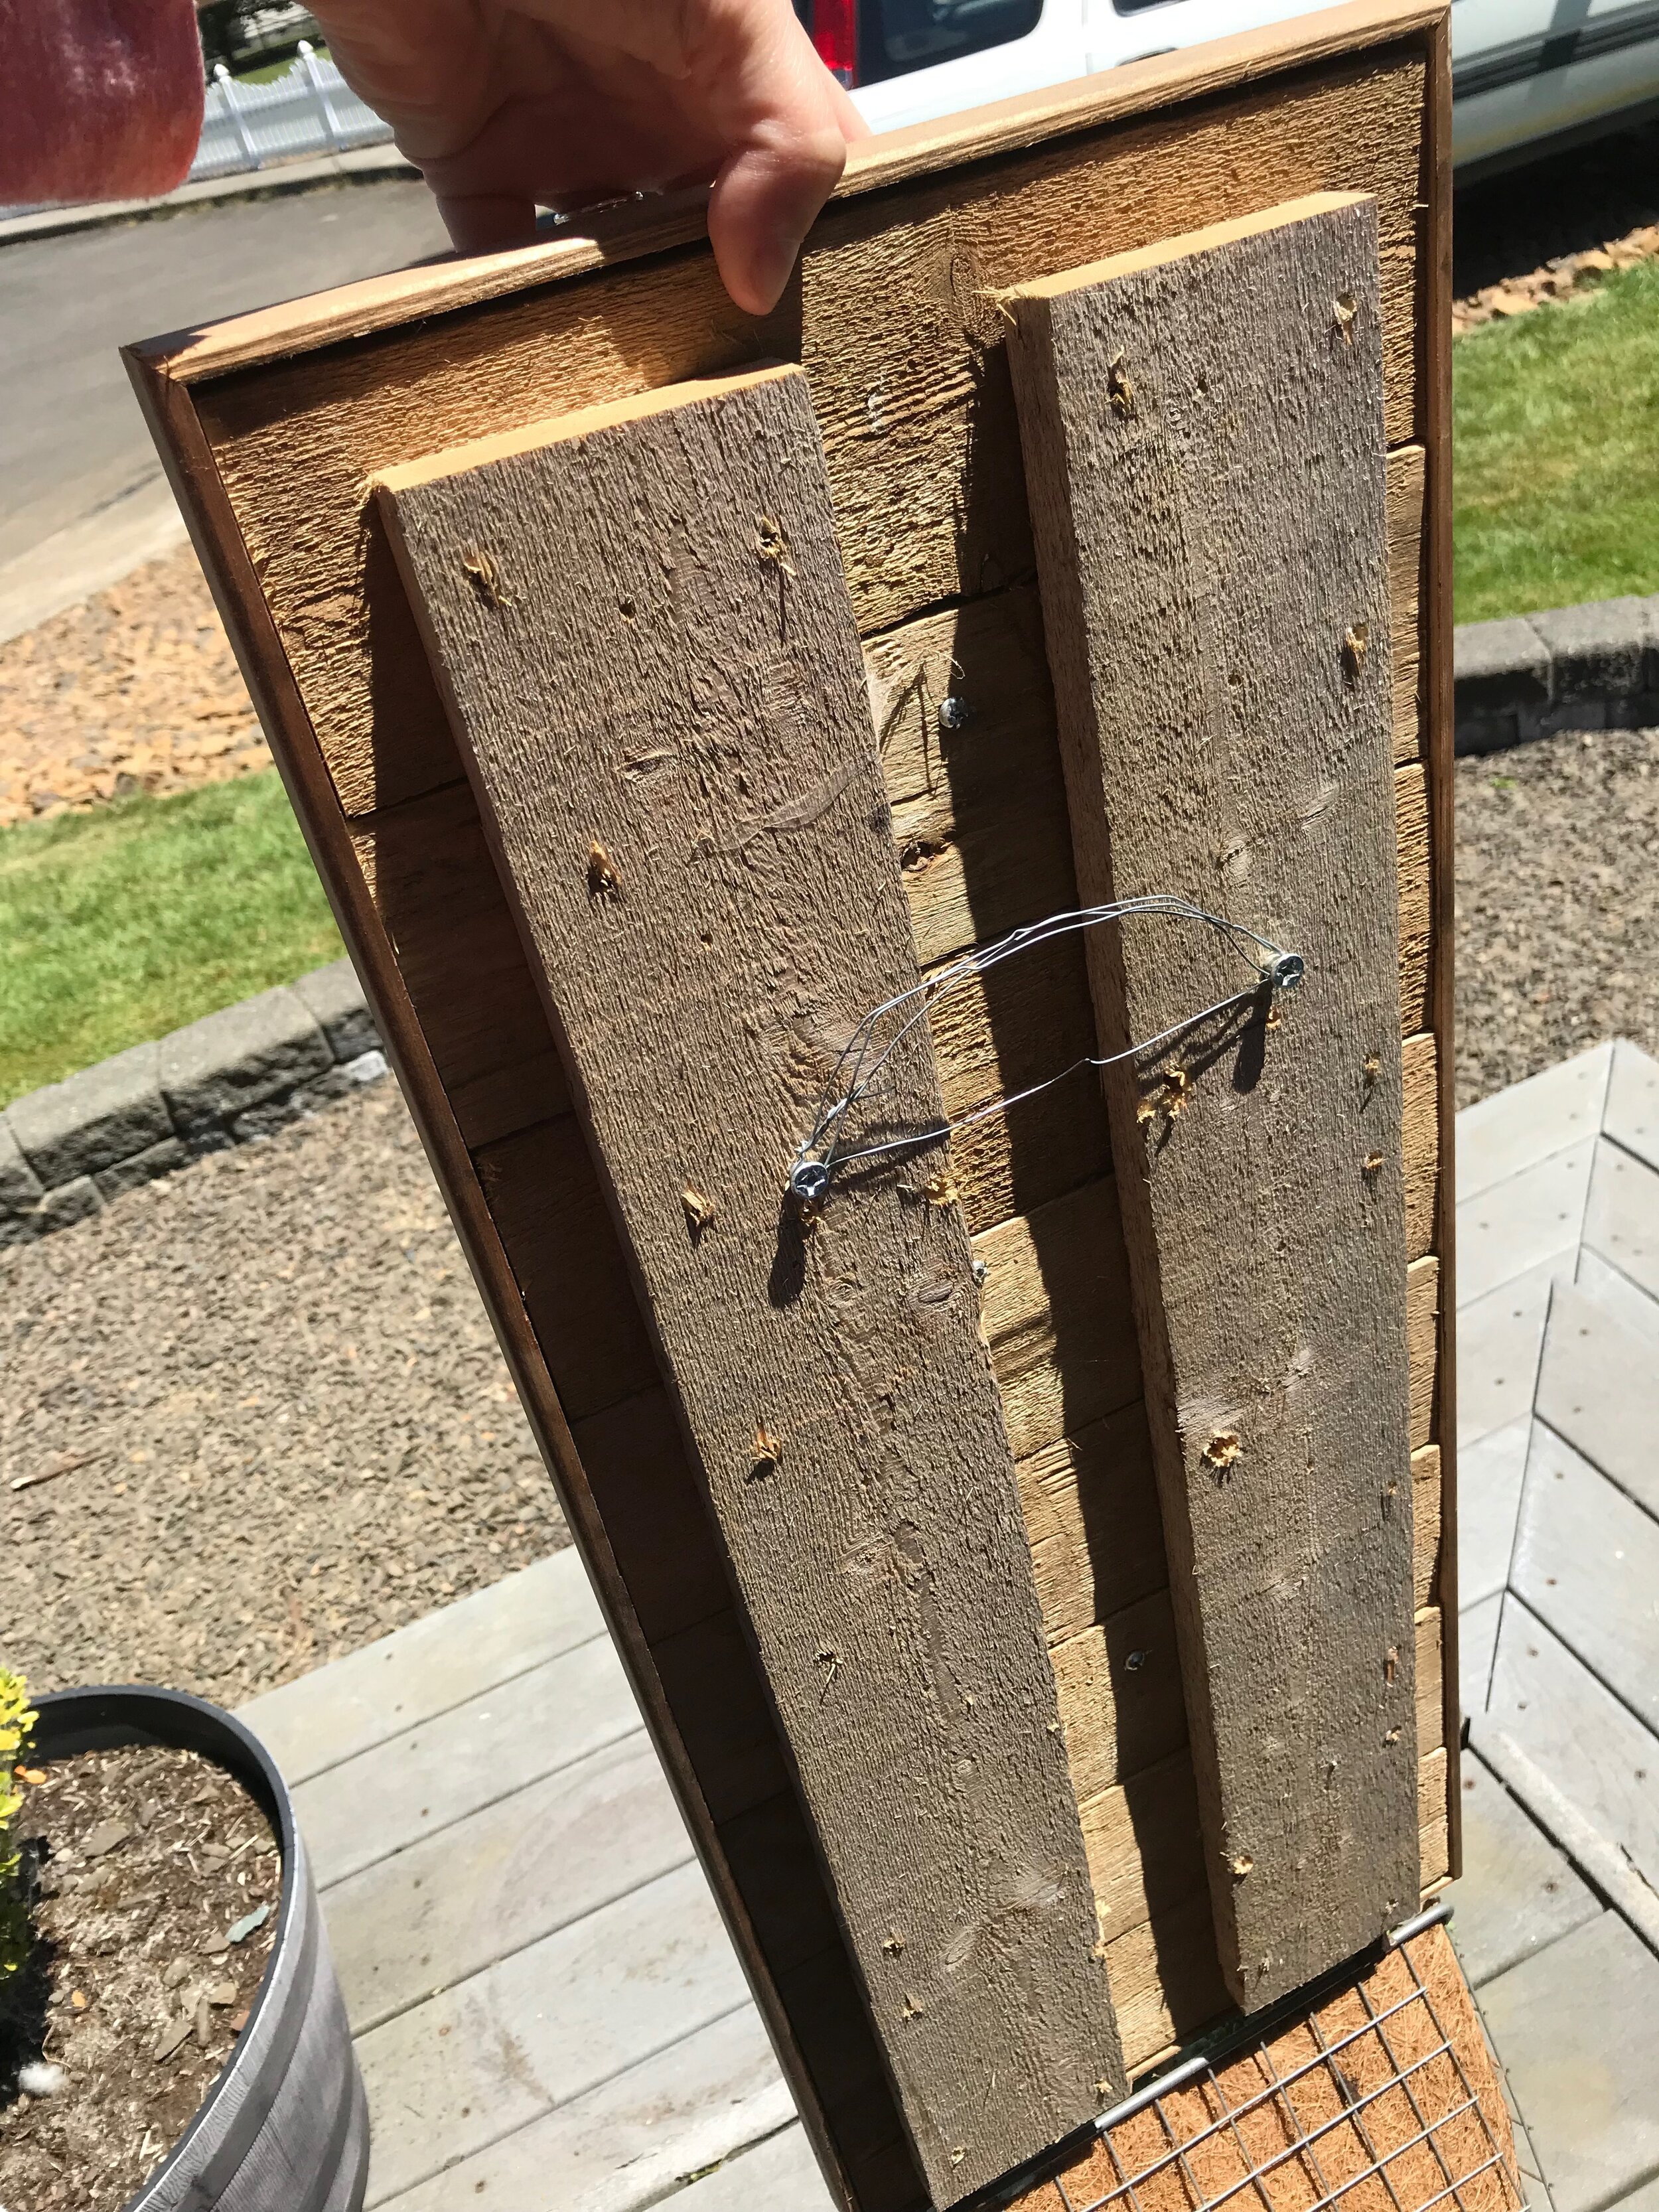
3. Cut an additional 2 pieces at 12" long for the back.
4. Lay out your 10" long pieces and square them up. Use your nail gun to attach the 12" pieces to the back, making sure to get a nail in each front plank.
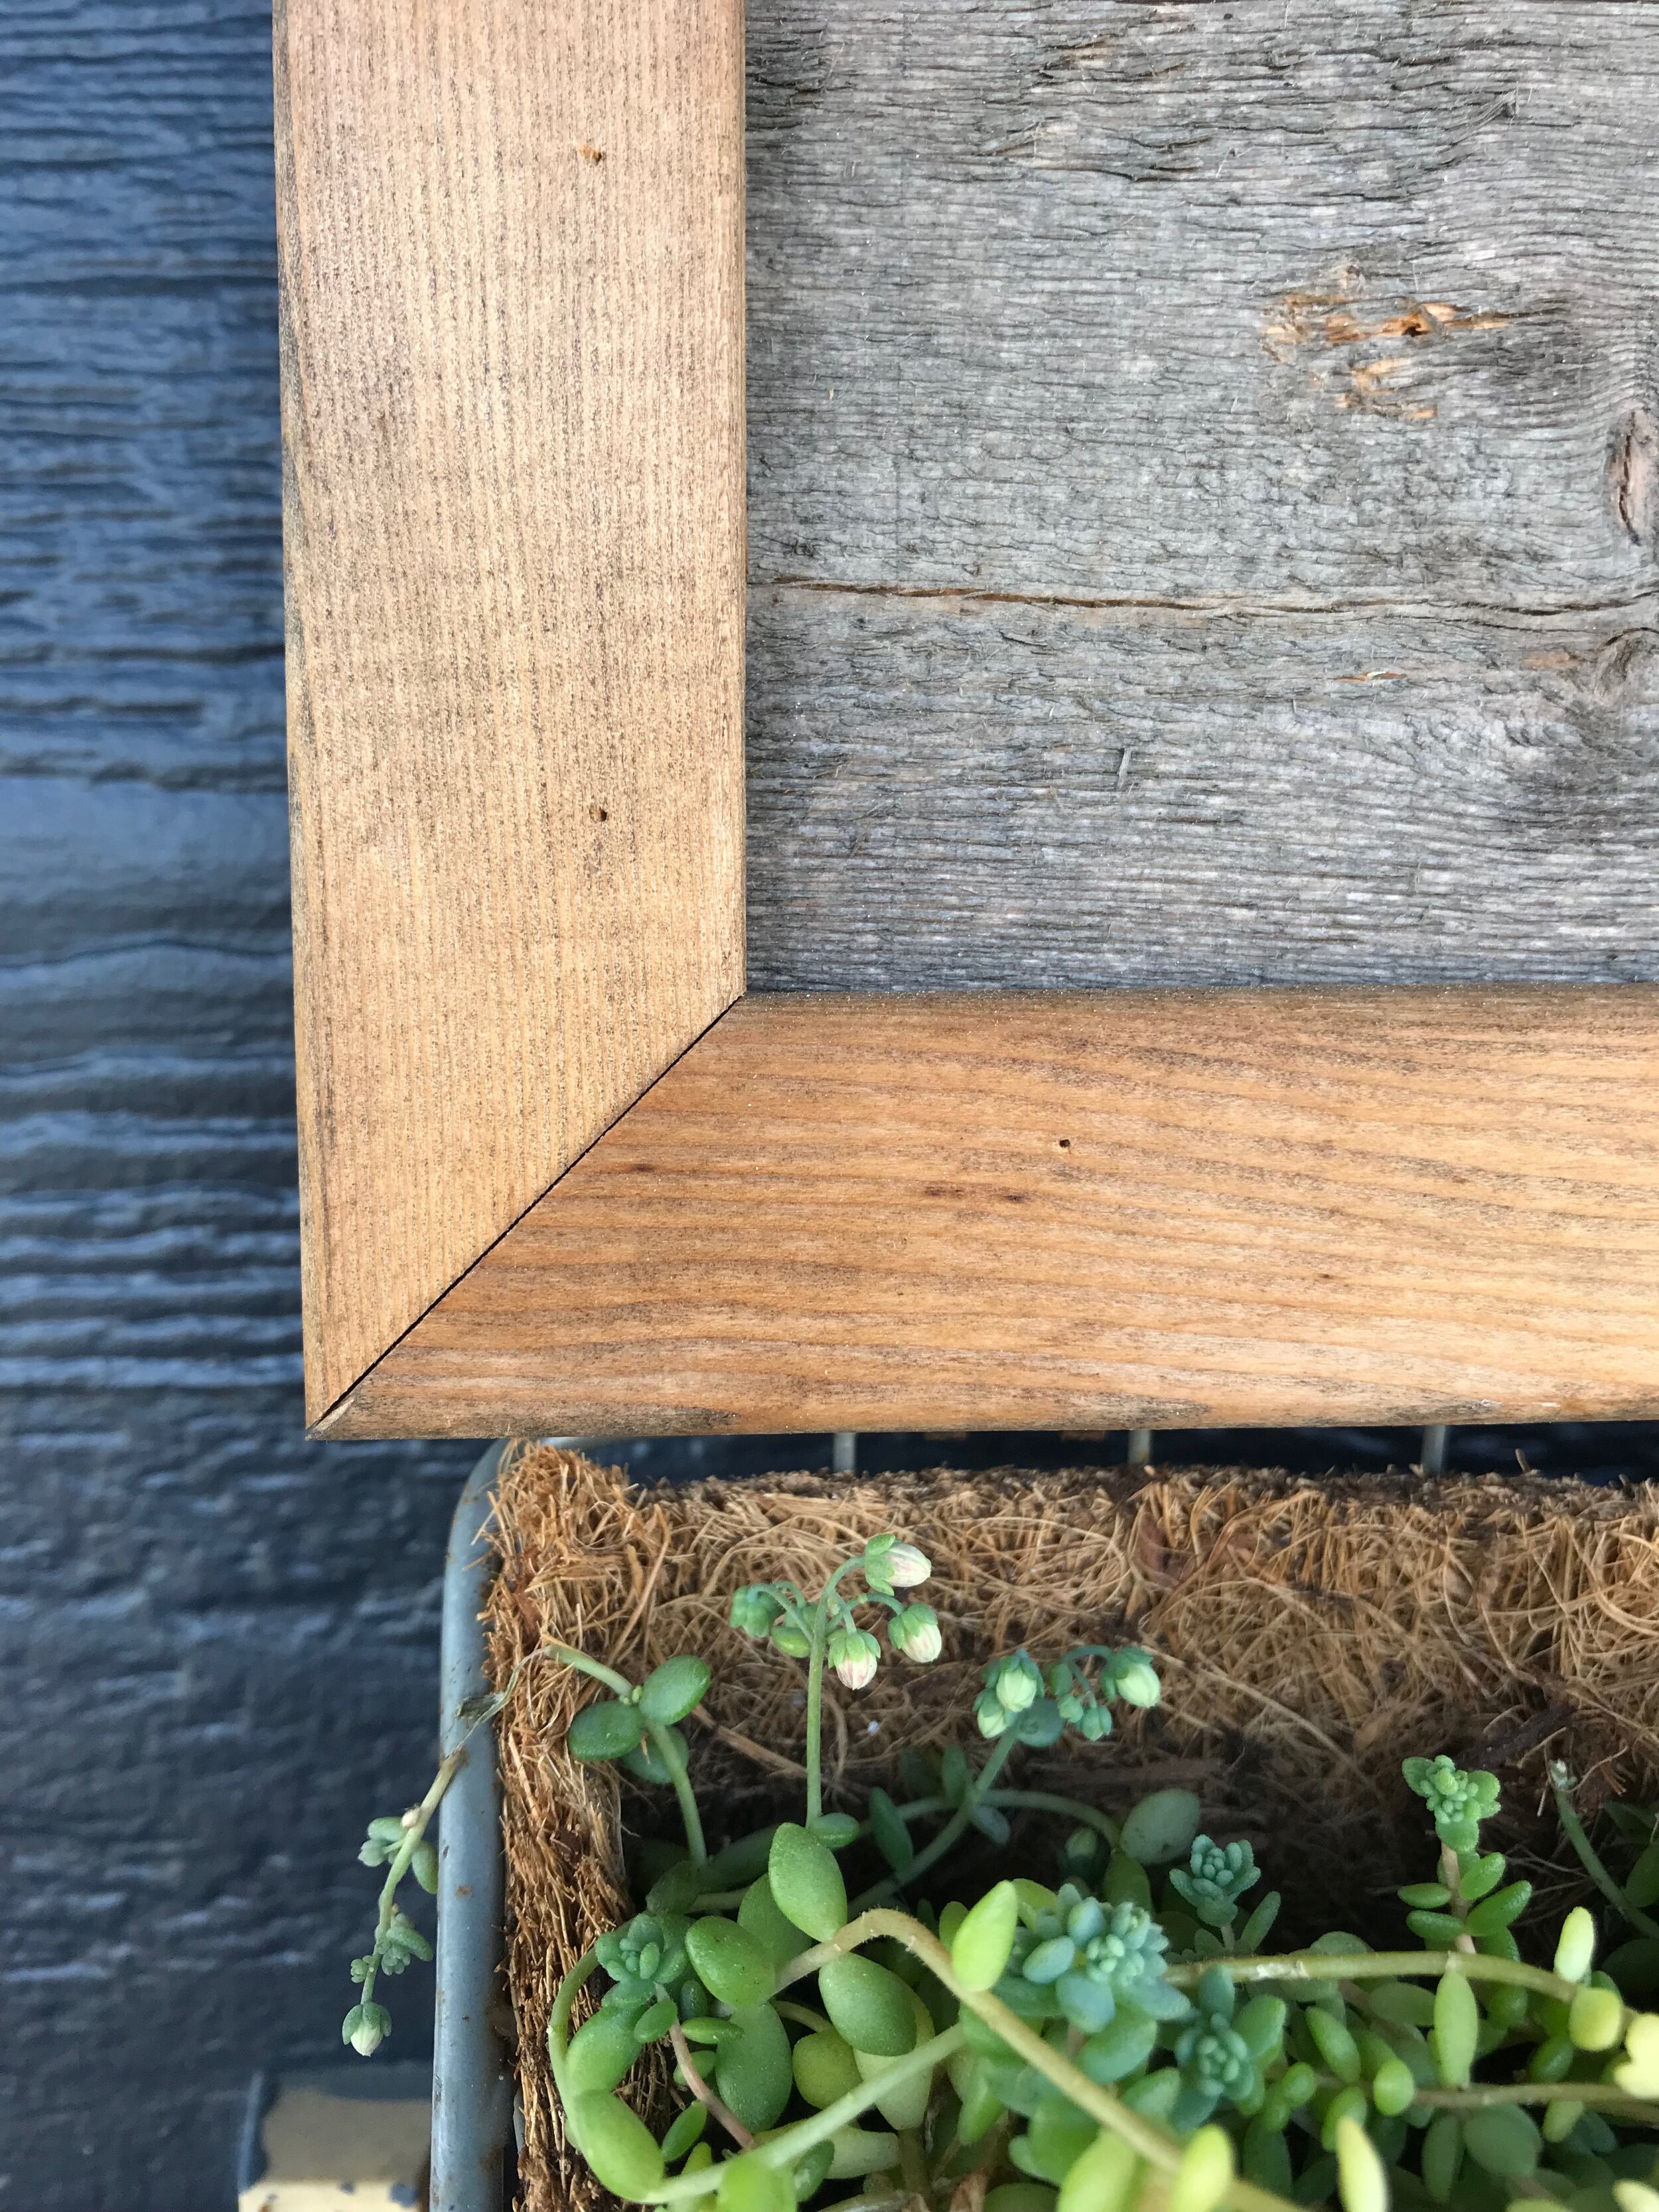
5. Cut your outside corner moulding at 45* angles to fit snugly around the outside of your planks.
6. Apply wood glue to moulding and use your nail gun to attach to the outside of your planks.
7. Set two screws on the 12" pieces on the back and attach the wire.
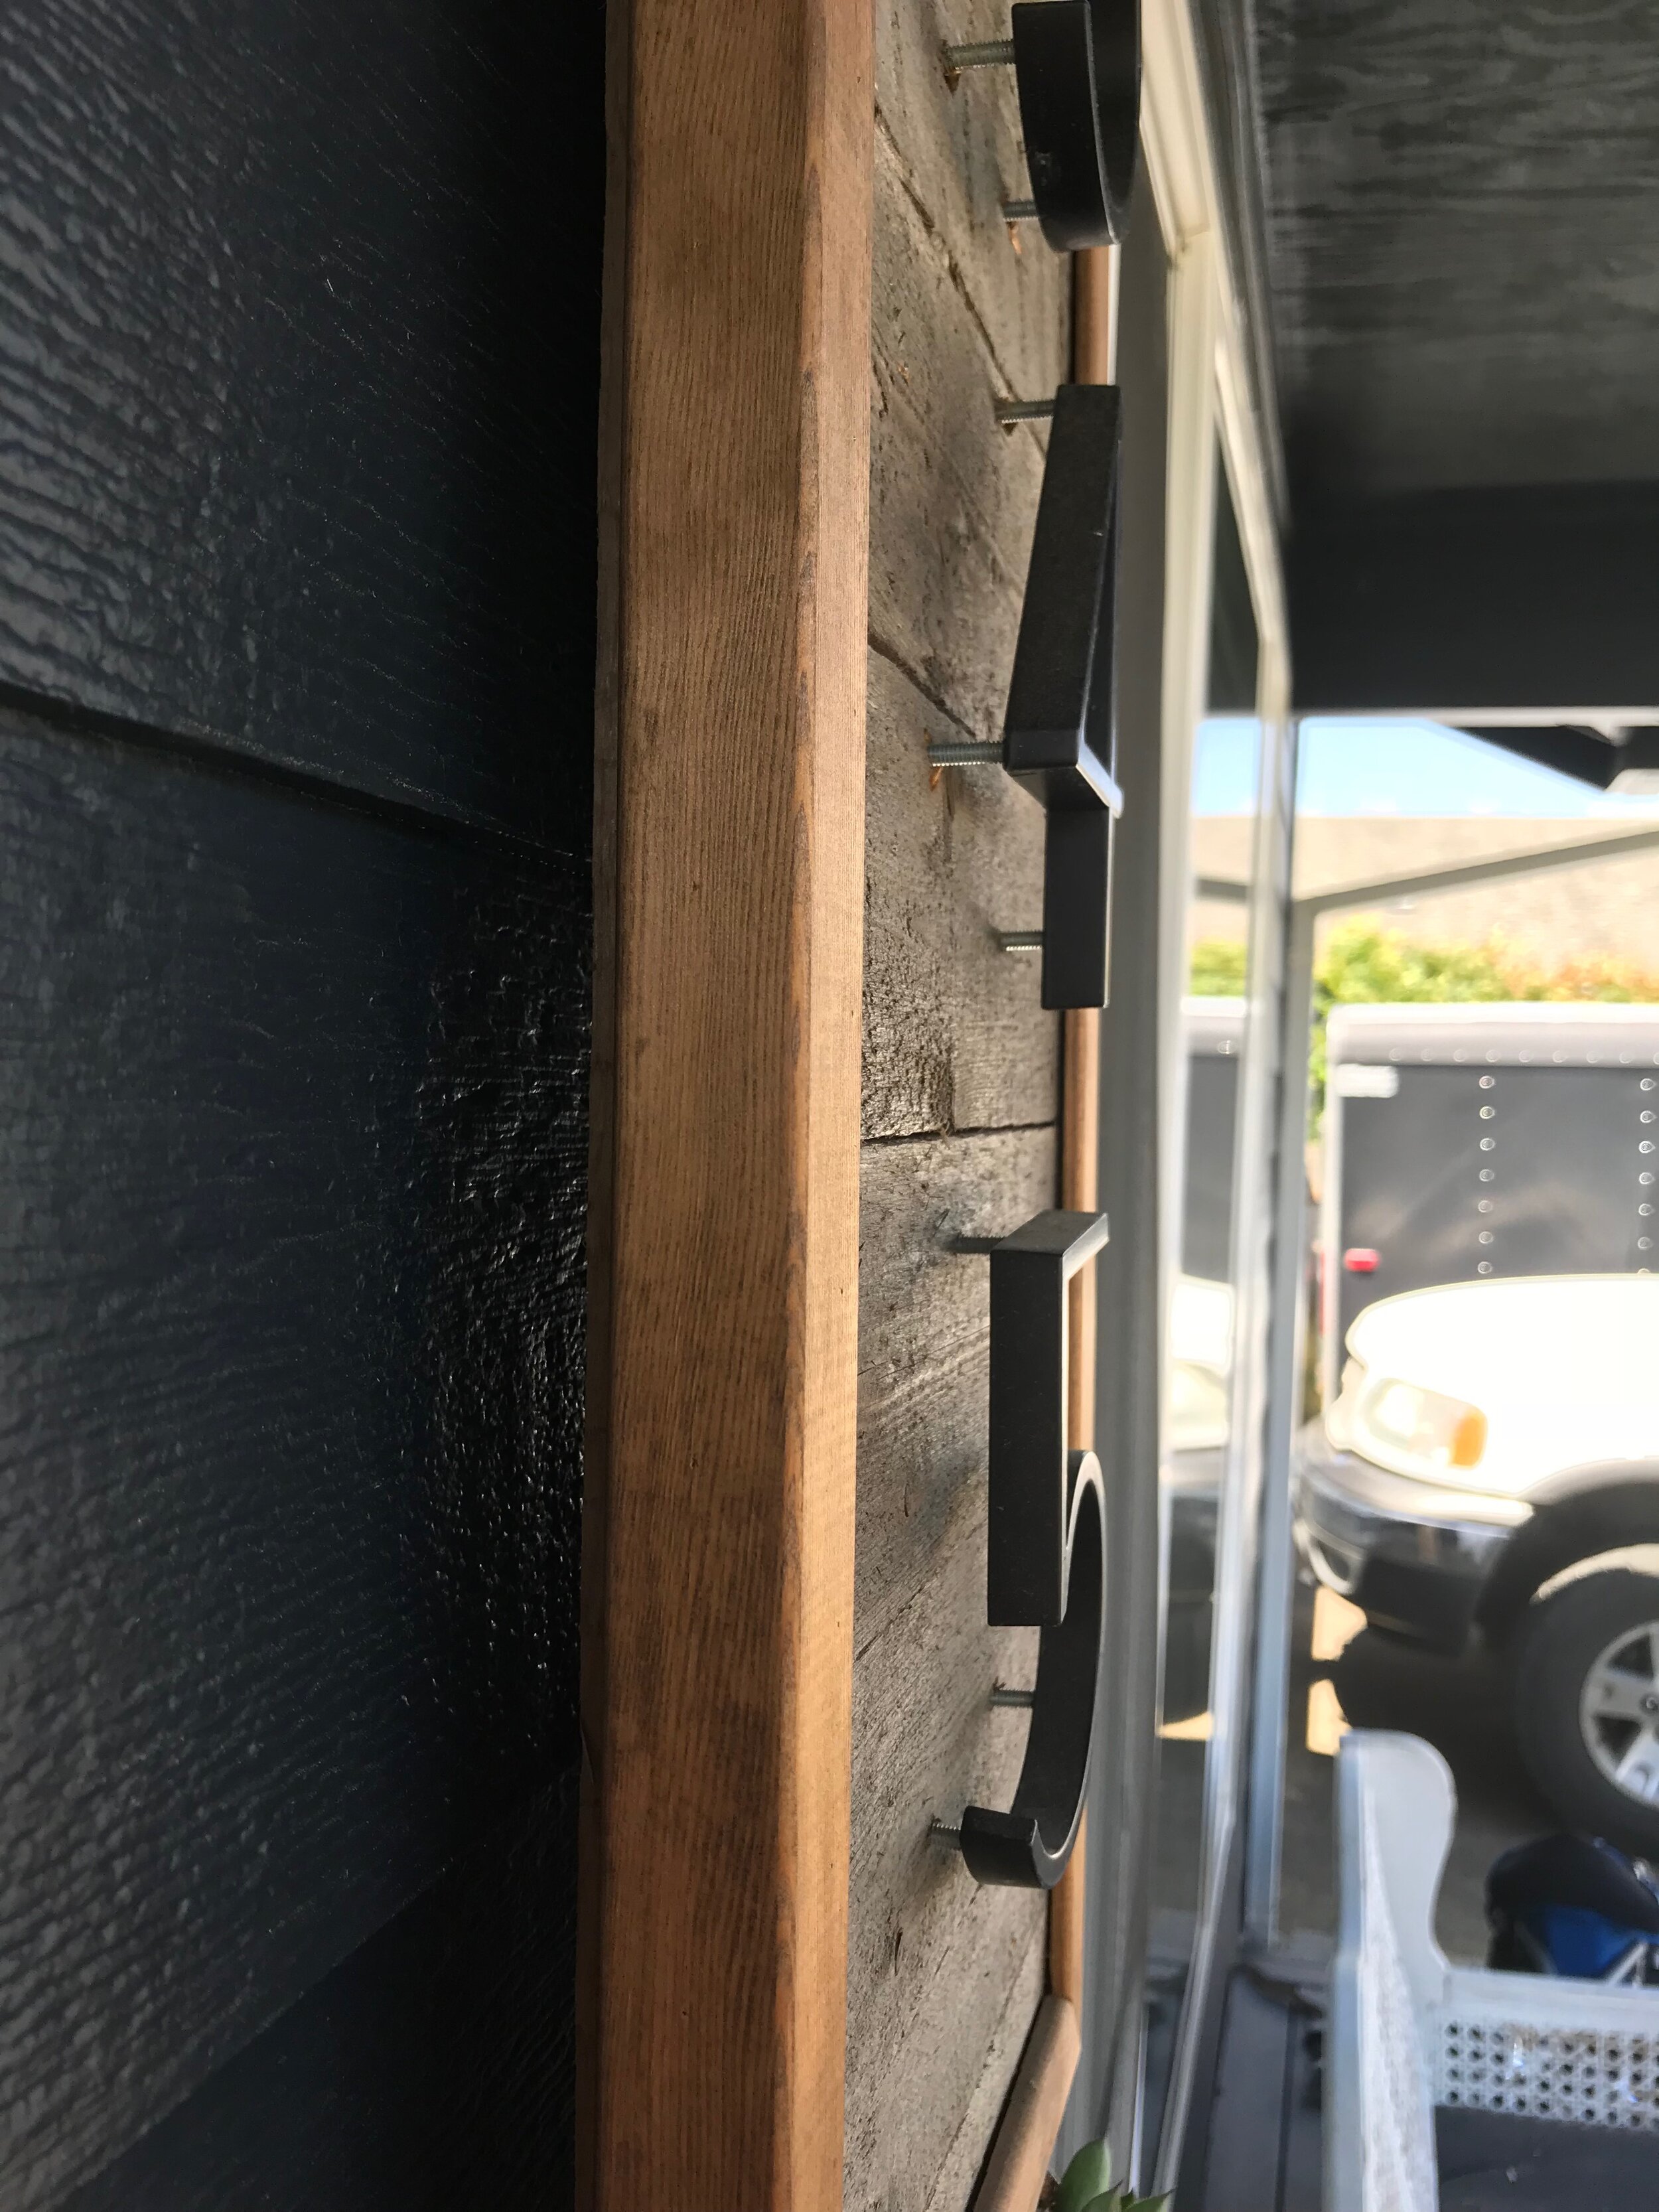
7. Set the house numbers on your planks and trace where you need to drill through for your number posts.
8. Drill and attach the house numbers
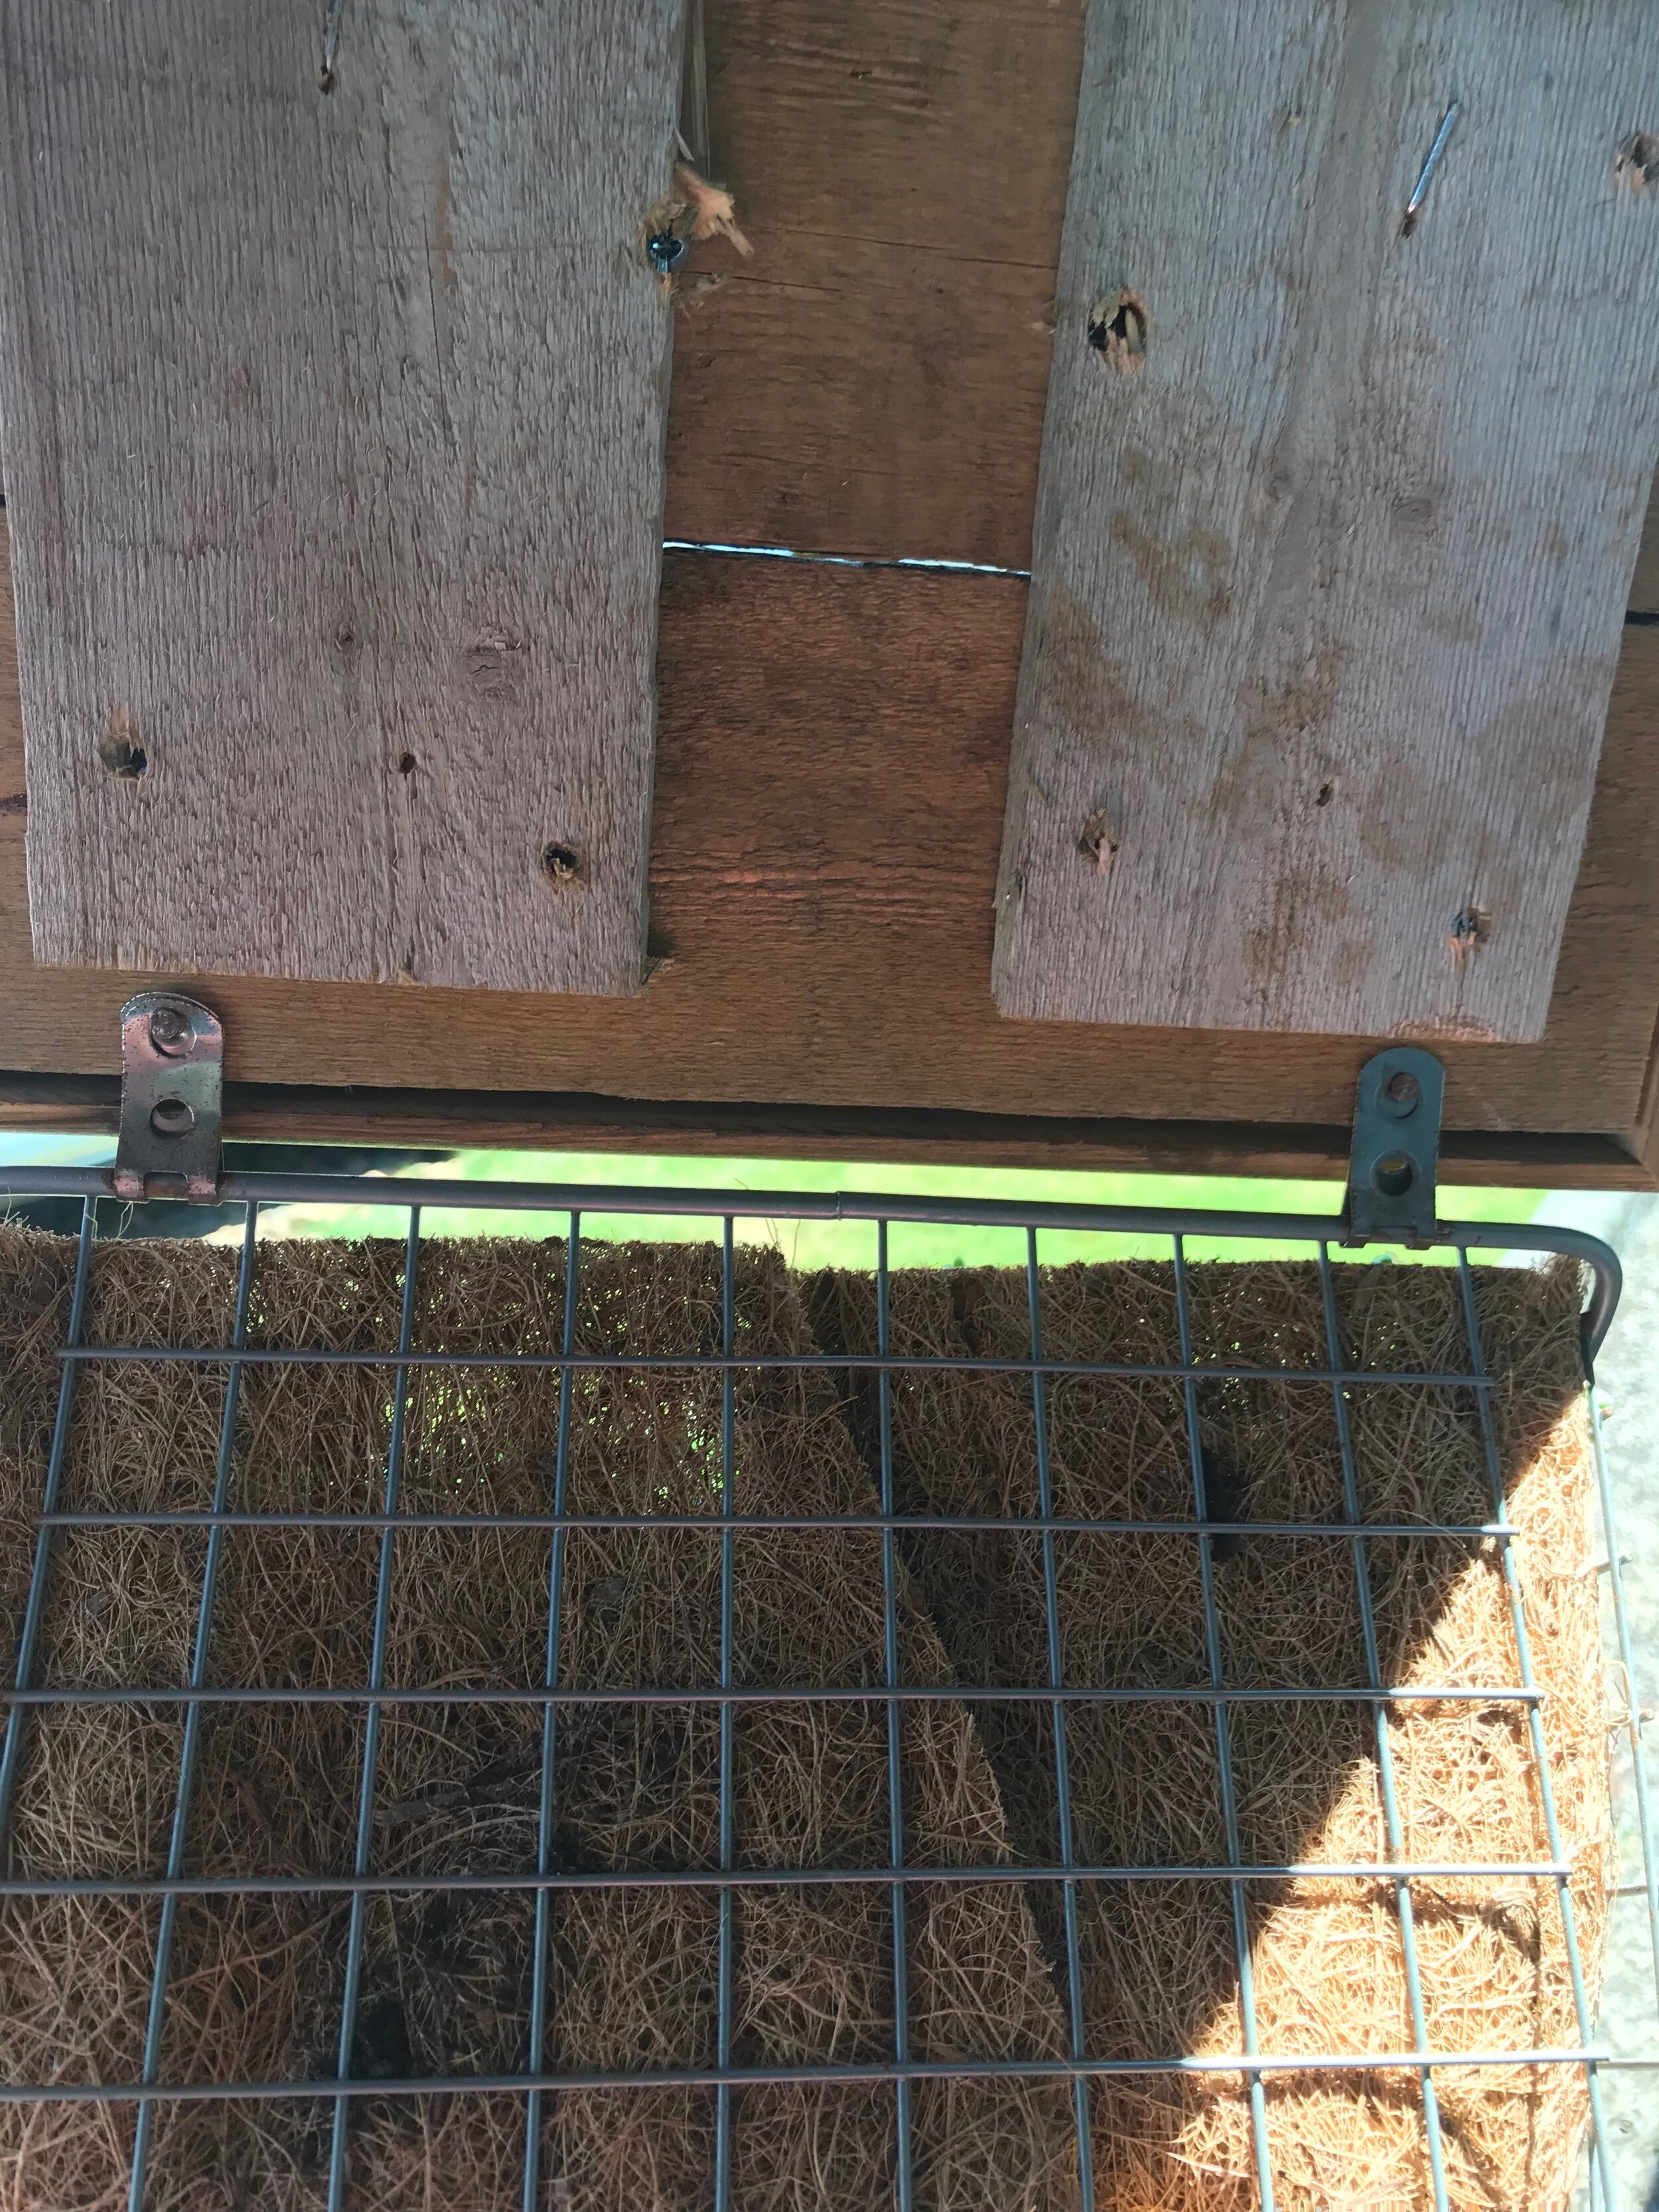
9. Nail your basket to the back of the plaque
10. Fill your basket with the liner, soil and your plants of choice.
11. Hang, and enjoy! Check out our other DIY posts like our 5 Step Gallery Wall